Visual Studio Code is a popular choice in software programmers, and for good reason. Here’s how to get started with it on Windows.

Microsoft’s Visual Studio Code also known as VS Code, is one of the best free code editors IDE. The application is
a very popular choice for most programmers as it is very easy to use and contains unique features that makes it
different.
a very popular choice for most programmers as it is very easy to use and contains unique features that makes it
different.
If you’re interested in VS Code for yourself, here’s how to get it working on a Windows PC.
What Makes VS Code Unique?
Among the top-class code editors there are few reasons that makes VS Code one of the most popular and
functional option.
functional option.
1. Visual Studio Code is free and multi-functional, which means it is compatible with other Operating Systems
too like Linux (Ubuntu, Fedora, Debian), macOS etc. and you can access the same settings everywhere by syncing
the application with your github account.
too like Linux (Ubuntu, Fedora, Debian), macOS etc. and you can access the same settings everywhere by syncing
the application with your github account.
2. Another advantage of using VS Code is that it provide massive collection of features that enables the user
to write, view, debug and run code easily without leaving the application. It comes with in-built debugger, code
repositary manager, code completion, code suggestion and easy navigation between files.
to write, view, debug and run code easily without leaving the application. It comes with in-built debugger, code
repositary manager, code completion, code suggestion and easy navigation between files.
3. VS Code also provide large number of extensions free to use with the editor which is managed and updated by
many open source developers. Which makes it most popular then it’s closest competitor ATOM. GitHub initially
developed ATOM, then is was later acquired by Microsoft.
many open source developers. Which makes it most popular then it’s closest competitor ATOM. GitHub initially
developed ATOM, then is was later acquired by Microsoft.
4. Last but not least Microsoft announces a latest feature that we can use VS Code online in the browser Which
means we can write and run programs on the go with any other system when your Personel Computer is not
available.
means we can write and run programs on the go with any other system when your Personel Computer is not
available.
How to Download and Install VS Code on Windows
Installing and Setting Up VS Code is very easy if you follow these steps thoroughly:
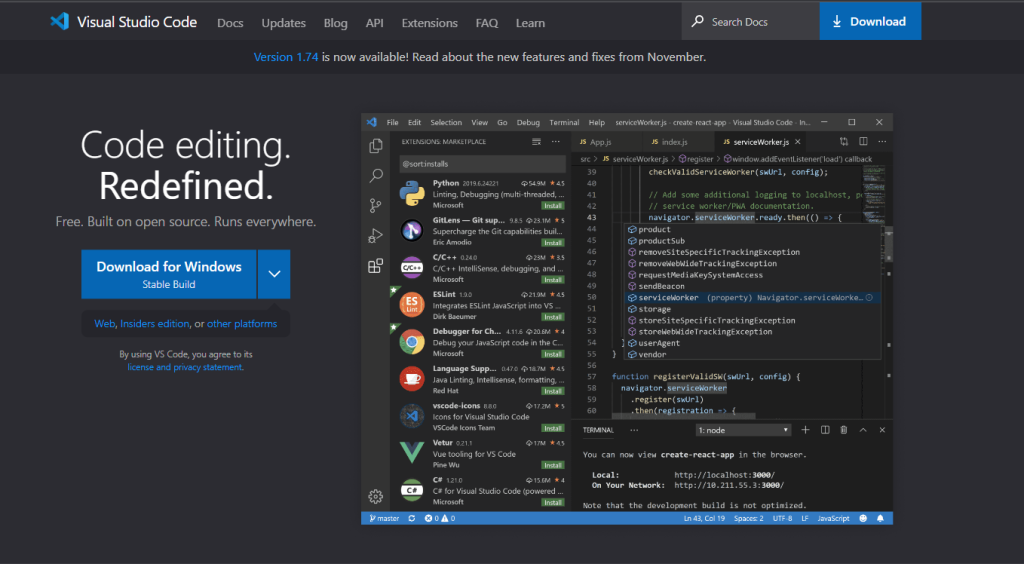
Step 1: Go to the Official Microsoft Visual Studio Code Website https://code.visualstudio.com/
select the best suited version from the drop down.

Step 2: After Downloading the VS Code file run the installer then click on the next after selecting the installation location

Step 3: Select the start menu folder to get the VS Code listed in the start menu and access it easily

After selecting the appropriate options click on next
Step 4: Select the additional options in the next screen

This tells the installer whether it should include extra functionality in the application.
We recommend that you tick the box labeled Create a Desktop Icon to create an icon on your home screen to ensure quick access to the application. However, leaving this box unselected won’t affect the quality of your work or the app’s overall functionality.
After ticking the other boxes according to your preference, click Next.
Step 5: Complete the installation.
After this just sit back and let the installer install the tool for you, after the installation is completed you will be prompted with installation complete.
Now the VS Code is ready to use, you can follow our other guides to how to use VS Code with other programming languages and frameworks.


